
Blog
Essential Tools for Efficient Box Build Assembly
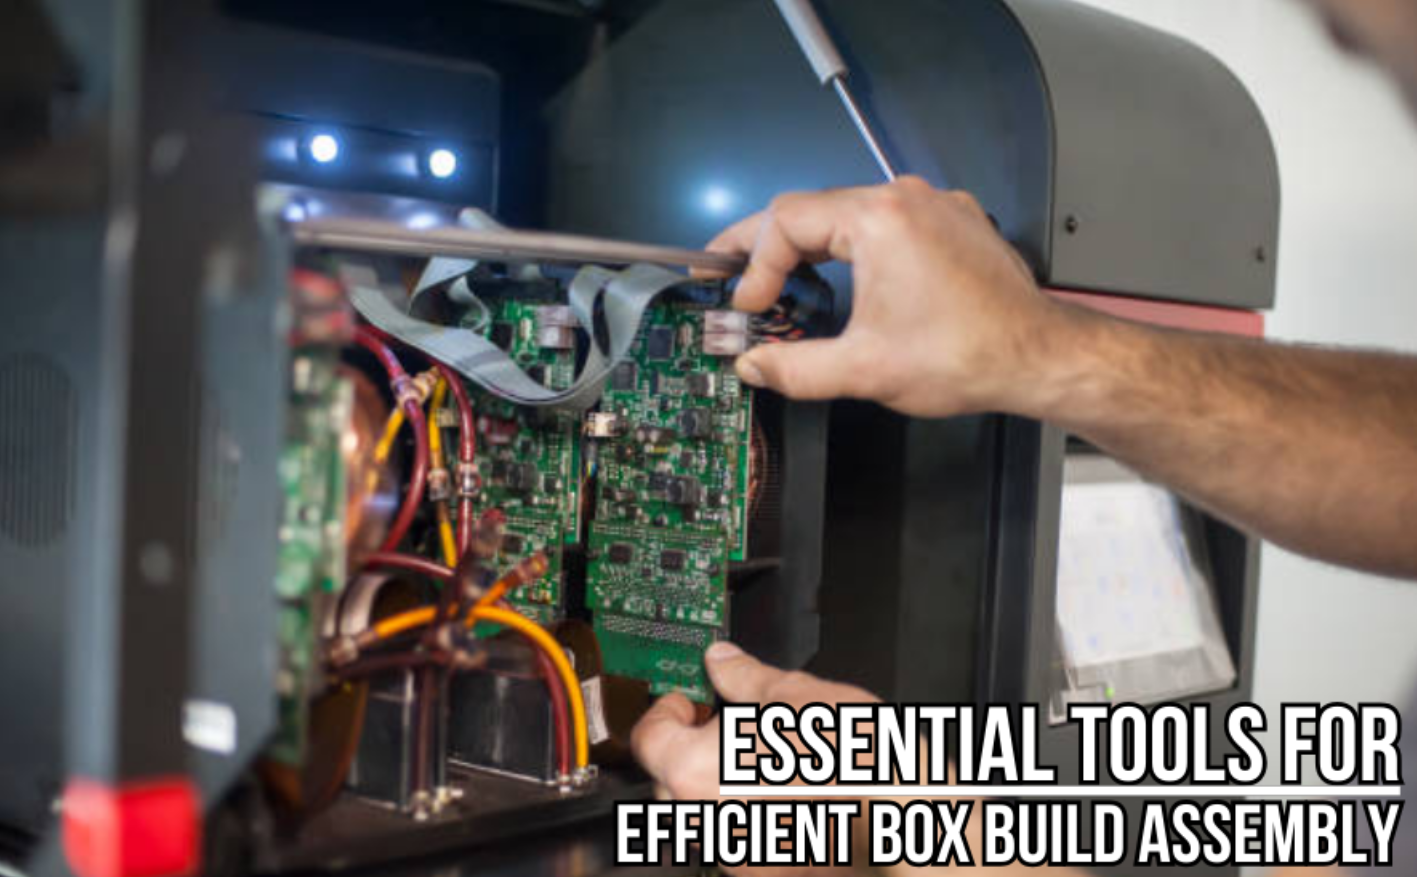
Every box build assembly manufacturer can agree that creating an electrical setup within a chassis requires the utmost attention to ensure that it works according to the plan provided by the client. If done correctly, the transition between the factory to the client’s operating area will be a smooth one; allowing the organization that bought the box assembly to harness its power to help in carrying out work operations.
With that said, in this article – we’ll explore the tools that you’ll need to ensure that you can complete a functioning and efficient box-build assembly.
Box build assembly: An Introduction
Before we proceed to the topic of focus, we’ll get to understand what a box build assembly is. It is best described as a manufacturing process where electronic components are assembled to form an ensemble of parts forming the finished product. These assembled components are placed within a box-like enclosure hence earning its name and are tested together to see whether each component installed is working in harmony.
The automotive and industrial niches tend to use box-build assemblies extensively. However, it is also seen usage in medical and consumer electronics. Box build assemblies also come in two types which are:
⦁ Simple box build assemblies. This variation of box-build assembly only needs to fit in a terminal block or a PCB inside a box-like enclosure. There will be little to no other elaborate procedures needed to be conducted for a successful assembly.
⦁ Complex box build assemblies. The second variation of box build assembly on the other hand; while similar to the previous variant utilizes a myriad of additional procedures. More parts such as connectors and linkages are added to the PCB and the enclosure. This variant is also likely to possess a control console or a user interface for the operator of the electronic enclosure.
The tools needed for a successful box-build assembly
Creating a functional and efficient electrical chassis can only be made possible with the use of tools and items that will contribute to its operational state. In this section, we’ll cover the items and tools you’ll need to guarantee a successful assembly that will function as intended. Here are the items listed below:
- The housing and the PCB:

To kickstart the list of tools that you need, an enclosed electrical chassis will never feel complete without the enclosure and the printed circuit boards. The box enclosure will be the housing for all of the electronic components that are installed within it – wires, circuit boards, and all. Whereas, the PCB will power up each component to ensure that the whole setup will function according to plan.
- Cut, twist, and bend wires with pliers, wire cutters & strippers:

These three tools are quintessential in making a box build assembly as you can use them to adjust wires while making an ensemble of electric components. Pliers are useful for bending or gripping wires or cables that you are adding during the assembly. As for the wire cutters and strippers, they are the tools you’ll need to cut and strip the wires to the desired length and remove their insulation so you can create electrical linkages.
- Always have a soldering iron on hand:

Soldering irons are a handheld device that releases a metallic substance called solder which is used by box build assembly manufacturers when working on the the enclosed electrical setup. This device functions by heating the solder inside it. This allows the solder liquid to flow into a connecting area which will join two different metallic pieces that are present inside the box build setup.
Having a soldering iron ensures that you can attach and form permanent linkages between key components that form the entire electrical setup inside the box enclosure.
- Organize wires and cables with wire management equipment and tools:

Items such as cable ties, wire looms, and other wire management tools are essential for providers of box build assembly services. These items are useful in sorting, securing, and organizing the wires and cables inside the chassis. The other perk of using these tools is that you can prevent the entanglement of different wires present in the whole setup.
⦁ To complement the wire management tools, you’d want to have labeling items present with you. Label printers or even a simple marker can suffice in labeling critical wires, components, and terminals. Through labeling, you can easily identify which part needs repairs or replacement during testing or troubleshooting – for instance a faulty wire.
- Screwdrivers or screw guns for component fastening:

Regardless of the chosen tool, screwdrivers or screw guns are going to be quintessential tools for box build assembly services. These tools are used for fastening screws between each component and ensuring that each part is tightly secure. One good example is when a technician uses screws to fasten switches and connectors that are installed inside the box enclosure.
- Make accurate measurements with calipers, measures, and rulers:

Whenever you’re creating a boxed electrical chassis, you want to have a measuring tool with you – whether it is a caliper, measuring tape, or a ruler. The intent here is that you’d want to use your measuring tool to make precise measurements during the assembly process. You’d want to ensure that the enclosure is large enough to fit the ensemble of electronic components.
You can also use the measuring items to check whether the components are sufficiently distanced from each other and
- Zoom in with inspection tools:

Another essential tool worth having around during the process of making a box build assembly is inspection tools – these can be in the form of magnifying glasses, inspection mirrors, or multimeters. You’d want to use these inspection tools during the quality control and testing phase of the manufacturing process.
That’s because these tools are useful in detecting small traces of defects or errors present in the box build PCB assembly. By detecting these errors early on, you can immediately resolve the problem before making a follow-up test to see if the electric setup inside the box housing is working as intended.
- Stay safe during work with personal protective equipment:

While this entry isn’t exactly a tool, it’s still an essential item to have around during the manufacturing process of a box build assembly. The personal protective equipment or PPE for this line of work usually comes in the form of safety goggles and gloves. These protective items are worn by workers during the assembly of the box setup to protect them from hazards.
Examples of potential hazards you’ll encounter during manufacturing are electric sparks and sharp and pointed edges in some of the components such.
The right tools make for smooth manufacturing:
It’s no surprise that making a box build assembly is an elaborate process that needs a lot of attention and proper preparation. You would need all the materials and tools for the job to ensure that you can form the box enclosure, install the components, and link them together with little to no problem.
However, you should keep in mind that even if the manufacturing goes smoothly, you would still need to test the electrical setup inside the box enclosure. After all, if you make these enclosed electrical setups; you would want to make sure that it’s safe to use for the client and that every part works together in harmony to fulfill their functions.


Select the Right Web Design Company Your ultimate guide!

Carla Diab Net Worth: A Success Story

Here are 10 steps to start and build a business in the UK.

T20 World Cup 2024: How get tickets for cricket matches?

Utah Business Search & Development:

Untold Story: Chrisley knows best daughter dies

What is Erome? Complete guide if it is safe to use or not

Navigating the Era of Xiaoyan: China SEO and Digital Marketing Landscape

How to get a work permit in Canada 2023: step-by-step guide

Kristen Archives: Complete Guide

iFuntv: Complete review by professionals

Is kisskh.me Down? Why? And ways to resolve this issue
What is Erome? Complete guide if it is safe to use or not
Navigating the Era of Xiaoyan: China SEO and Digital Marketing Landscape
How to get a work permit in Canada 2023: step-by-step guide
Kristen Archives: Complete Guide
iFuntv: Complete review by professionals


